Potting and Repotting, Depotting of Plants
potting and repotting and depotting is imortant concept for your indoor garden. potting repotting and deporting is done to proper care of indoor plants to make them healthy. In this article we have discussed what is potting in agriculture,depotting and repotting.
What is potting
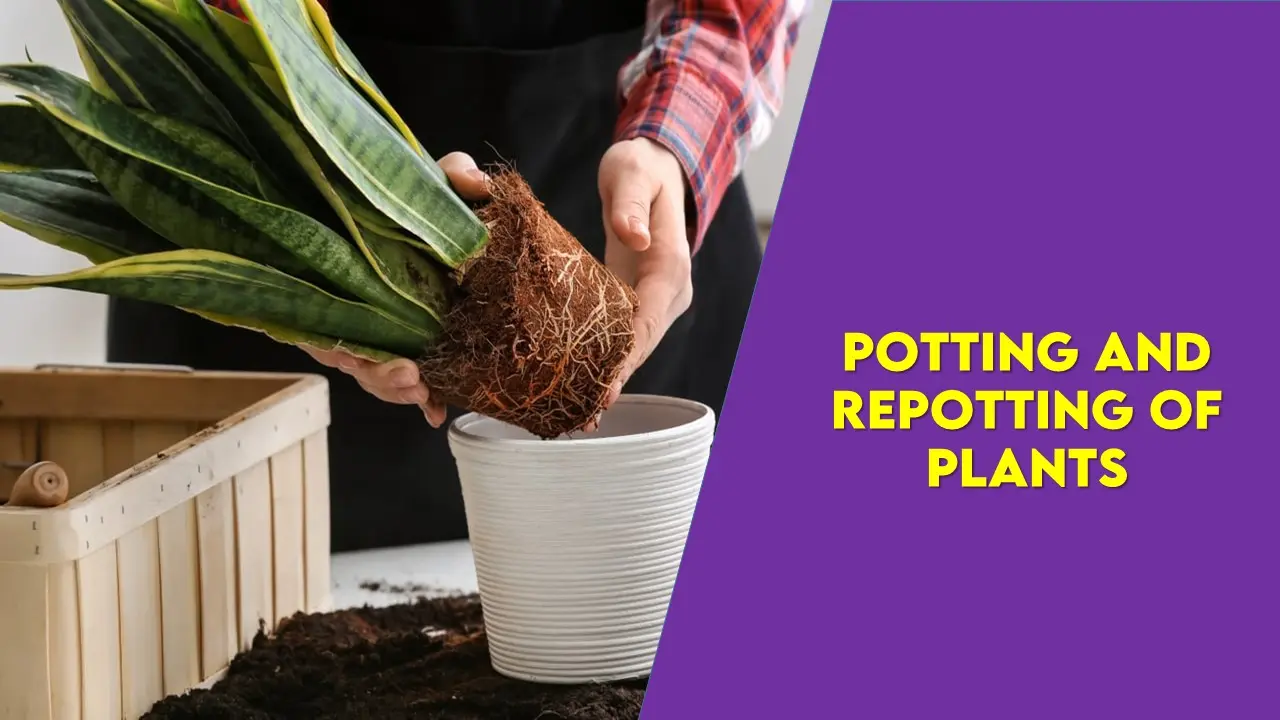
Potting is a process of planting of new plants in a pot with a suitable pot mixture for establishment. It is a simple operation but requires certain degree of skill and practice. There are several demerits of pot culture. The space and the quantity of growing media are limited and hence, are resticted. They are subjected to extremes of humidity and temperature, especially when placed in exposed situation. Hence, the need for repotting.
What is Depotting
Depotting is a process of removal of estabilished plants from pots to provide the growing plant with more and fresh growing mixture.
What is Repotting
Repotting is a process of planting the depotted plants in a new pot mixture.
Purpose of potting
Potting is an horticulatural necessity, both in the rapid multiplication of plants and for effective beautification of gardens. Pot plants are easily handled and shifted to desired places. In times of scarcity of water, large number of plants can be grown in pots than in the ground. Delicate plants can also be grown more conveniently in the pots.
How to prepare pot for Potting and Repotting of Plants
1-Prevision for drainage
The first requisite of good potting is the provision for efficient drainage. The water supplied to the plant should pass out of the pot after wetting the soil thoroughly. It should not be allowed to stagnate in the pot round about the roots. For this purpose drainage holes are provided in the pots at the bottom. The drainage of a pot is effected in a simple way. For pots upto 10cm size, a single piece of crok (broken pot piece), is put against the drain hole, with its concave or hollow side turned towards the hole. For larger sizes, a large crock is placed against each of the drain holes and some more pieces of crock are placed above them overlapping each other with their hollow sides all turned downwards. These smaller pieces are than covered with a layer of broken pieces of crocks of the size of a pea. Finally, the crocks are covered with a layer of coarse sand or coconut fibre to prevent fine soil from getting washed down into the drainage mete- rial and clogging it. For small pots upto 15 cm drainage to a depth of 2 cm will do. For a larger pot upto 25 cm, 4-5 cm depth of drainage may be necessary. Pots for orchids, which require perfect drainage, have 25 to 33% of their depth filled with crocks.
2-Use of clean pots
New pots should be soaked in water for about an hour. Old pots should be scrubbed both inside and outside with the brush or coconut fibre and even washed in hot water to remove all dirt and mess. Cleaning also removes remnants of past disease, fungus spores, etc. But on no account should the pots be wetted immediately before use, as the new soil would stick to the pot and would interfere with aeration.
3-Use of clean crocks
Unclean crocks may infect the new plant with disease, apart from clogging problems.
4-Use of suitable soil
It is necessary that each kind of plant should be grown in a soil mixture which as best suited for it.
5-Potting soil not to be quite dry
The potting soil should be used in a moderately moist condition. A handful of soil pressed firmly should mould itself to be shape of the hand without dripping waqt moisture and should at the same time crumble when it is disturbed, without being so dry as to fall apart. Dry soil cannot be easily worked with. Further, it will not be wetted entirely while being watered, as the water has tendency to run down Ithe sides without moistening the dry soil.
6-Pot firmly
By firm potting is meant, pressing the soil in the pot to such an extent that the plant cannot be pulled out easily. The degree of firming depends upon the nature of planting material used. Soft wooded plants require less firm soil, while hard-wooded plants require greater firmness.
6-Allowance of head space at the top for watering
After firming the soil, there should be 2 cm of space in case of smaller pots and 3-5 cms in case of larger pots.
7-Wetting of soil before repotting
The plant to be repotted may be watered two to three hours before repotting. Plants should never to repotting when the earth holding their roots is quite or nearly dry. it seldom gets soaked afterwards, when surrounded with soil of a moist nature through which water passes readily, leaving the dry part to remain as before.
8-Do not use oversized or undersized pots
It is necessary to use some judgement in choosing the size of the pot. If the pot it too large, there is uneconomical waste of resources and if too small, there is the danger of getting into root bound conditions.
9- Do not plant too deep
Too deep planting is very harmful, especially to hard-wooded plants. The shallow potting is like-wise injurious, as roots will not get a firm hold on the soil and will get shaken with every breath of wind. It is always safe to plant in such a way that the old ball of earth is not placed lower than what it had been previously.
10-Remove to shade after potting
After potting the plants should be removed to a shady place until root action commences afresh. After they are established, they are gradually hardened by admitting more and more sun to them, before they are actually put in the open.

Preparation of pot mixtures for Potting and Repotting of Plants
For planting cuttings:
Prepare the mixture by mixing thoroghly 2 parats loam, 3 parts leaf mould and 6 parts sand.
For Rose Plants:
Prepare the mixture by mixing thoroughly 4 parts loam, ½ part bonemeal, 6 parts decomposed Farm Yard manure and 4 parts sand.
For Fruit plants:
Prepare the mixture by thoroughly mixing 4 parts loam, 3 parts compost, 2 parts bonemeal and 2 parts sand.
Procedure Filling of pots
- Select well baked and sound pots of the proper size(the size will depend on age of the plant and purpose).
- Wash the pot, both inside and outside, with clean water.
- Place a large crock on the drainage hole. Now put several smaller crocks to a depth of 3 to 5 cm, depending upon the size of the pot.
- Put 2 to 3 layer of coarse sand or coconut fibre.
- Fill the pot with a soil mixture (depending upon nature of plant purpose). When half full, press the mixture firmly. Continue filling up to the rim of the pot. Press the potting mixture again, and finally fill and press mixture to a point where a room of 3 to 5 cm is left for holding water.
Potting
- Use pots filled as described above for sowing seeds, potting of plants or planting cuttings.
- Scoop cut a hole in the centre of the pot.
- Keep the plant in the centre of the hole with roots well distributed in all directions. Throw soil all round the plant and press soil firmly and uniformly. Take care that planting is not done too deep.
- Irrigate the plant with watering can fitted with a fine rose nozzle.
- Place the potted plant in a cool shady place.
Depotting
- Hold the plant with right hand between second and third
- finger and thumb along the side of the pot to remove the
- plant from the pot. Turn the pot upside down and tap gently on the edge of the earth. Take out the ball of earth from the pot carefully.
- Prune the lower finger roots and remove some soil to reduce the ball of earth before putting the plant in the new pot.
Repotting:
- Place the plant in the new pot mixture by scooping out little quantity of soil
- Spread some more quantity of pot mixture over the roots; press it gantly.
- Water the plant with a rose head water can.
- Place the potted plant in a cool shady place.
Join Times of Agriculture
Get the latest Agriculture Magazine and regular important updates right on your phone.
👉 Join WhatsApp Group